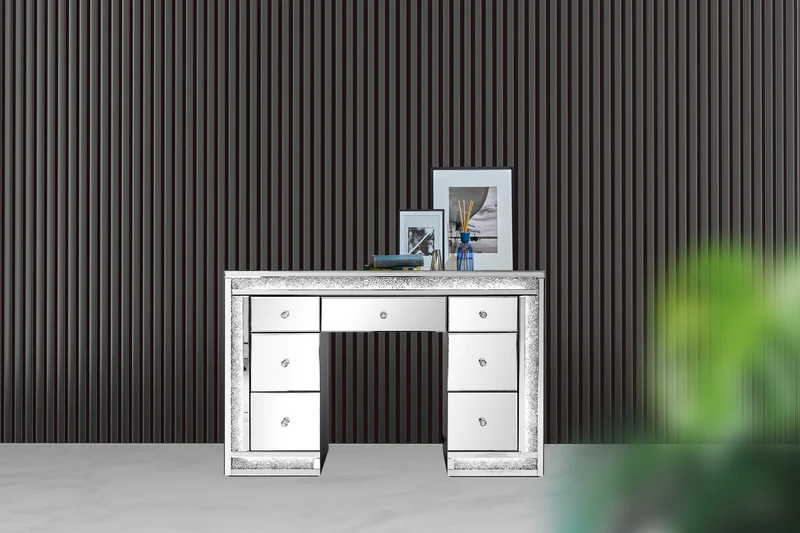
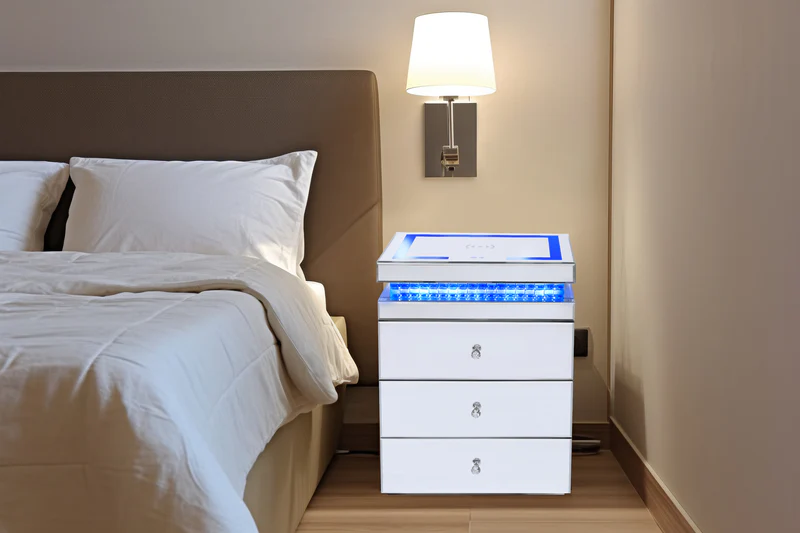
Want to update your old mirrored furniture? Painting the frames can make a big difference in how your room looks. This guide will show you how to do it, no matter what your furniture is made of. We'll cover everything from getting started to finishing up. You'll learn how to protect the mirror, choose the right paint, and get a good-looking result. With some careful work, you can create a mirror frame that looks great in your home.
Step 1: Preparing to Paint Your Mirror Frame
Check Your Furniture
Take a close look at your mirror frame of your mirrored furniture. Is it made of wood, MDF, metal, or plastic? Feel the surface to see if it's smooth or rough. This will help you choose the right painting method. Also, look for any damage like chips or loose parts. You'll want to fix these before you start painting.
Get Your Supplies
For this project, you'll need some basic items: sandpaper, cleaner, painter's tape, and drop cloths. You'll also need painting tools like brushes, rollers, or spray paint. Choose whichever you're most comfortable using.
Don't forget primer and paint. Make sure to get the right kind for your frame's material. Wood frames need wood primer and paint. Metal frames work best with metal primer and enamel paint. If your frame is plastic or MDF, you'll need special primers that help paint stick to these surfaces.
Set Up Your Work Area
Find a good spot to work. It should have plenty of fresh air and light. A garage or outdoor area is often ideal. If you're working inside, open some windows and use fans for better air flow.
Put down drop cloths to protect your floor and nearby furniture from paint splatters. Make sure you have enough light to see what you're doing. If natural light is limited, set up some extra lamps.

Step 2: Getting Your Mirror Frame Ready for Paint
Protect the Mirror
Before you start working on the frame, protect the mirror. You can use newspaper, plastic sheeting, or special masking film to cover the mirror . Make sure it's securely attached. To prevent paint from seeping under the edges, use painter's tape to seal around the mirror's border. Press the tape down firmly for a good seal.
Clean the Frame
Next, give the frame a thorough cleaning. Use a mild soap and water solution to remove dirt and oils. For stubborn grime, try a degreaser. Dry the frame completely before moving on.
Deal with Hardware
Remove any knobs, hooks, or other hardware from the frame. If you can't remove them, cover them carefully with painter's tape.
Fix Any Damage
Repair any chips, cracks, or loose parts. For wood frames, use wood filler. For metal, try a metal-specific filler. Let repairs dry completely, then sand them smooth.
Sand the Frame
Sanding helps the paint stick better. For wood, start with medium-grit sandpaper and finish with fine-grit. Metal frames need a light scuffing with fine-grit paper. Plastic frames require special plastic-etching primer instead of sanding.
If your frame is MDF, be extra careful. Sand very lightly to avoid damaging the surface. MDF can swell if it gets wet, so avoid using water-based cleaners or paints.
After sanding, wipe away all the dust with a tack cloth. Your frame is now ready for primer and paint.

Step 3: Painting Your Mirror Frame
Priming the Frame
Start by applying primer. Choose a primer that matches your frame's material. For wood, use a wood primer. Metal frames need a metal primer. For plastic or MDF, use a bonding primer.
Apply the primer in thin, even coats. You can use a brush, roller, or spray primer. Work in one direction to avoid streaks. Let each coat dry completely before adding another. This usually takes about an hour, but check the product instructions for exact times.
Painting the Frame
Once the primer is dry, it's time to paint. Pick a paint that suits your frame material and the look you want. Latex paint works well for most frames, while oil-based paint is durable for high-use items.
You can apply paint with a brush, roller, or spray can. Brushes give you control but can leave marks. Rollers are fast and smooth. Spray paint offers an even finish but requires practice.
Apply several thin coats instead of one thick one. This prevents drips and gives a smoother finish. Let each coat dry before adding the next. Most paints need about 24 hours to fully dry.
Adding Special Touches (Optional)
If you want a unique look, try some decorative techniques. For a vintage feel, you can distress the paint by sanding some areas after it dries.
For a metallic shine, use metallic paint or rub on some gilding wax. Textured paint can add interest to plain frames.
You could also try stenciling patterns or adding hand-painted details. Just make sure the base coat is completely dry first.
Step 4: Completing Your Mirror Frame Project
Remove Protective Coverings
Once your paint is fully dry, carefully remove the tape and coverings from the mirror. Peel the tape off slowly at a 45-degree angle to avoid damaging the fresh paint. If any paint seeped under the tape, gently scrape it off with a plastic scraper or your fingernail.
Touch Up and Correct
Inspect your frame closely. If you spot any missed spots or imperfections, now's the time to fix them. Use a small brush for touch-ups. For drips or uneven areas, lightly sand them down and repaint.
Add a Clear Coat
For extra protection, especially in high-traffic areas, consider adding a clear coat. Choose a product that's compatible with your paint type. Apply it in thin, even layers, following the same technique you used for painting. This step is optional but can help your paint job last longer.

Put It All Back Together
Reattach any hardware you removed earlier. Make sure the paint is completely dry first to avoid dents or scratches. If you're adding new hardware, measure carefully before drilling any new holes.
When moving your freshly painted mirror, handle it with care. The paint may still be soft for a few days. Lift the frame from the bottom, not by any protruding parts.
Finally, find the perfect spot for your renewed mirror. Consider the lighting in the room - natural light can really make your new paint job shine. What's more, you can try some decorative techniques for yourroom. Step back and enjoy your handiwork!
Troubleshooting Guide and Painting Advice
Common Issues and How to Fix Them
Paint Not Sticking
If your paint isn't adhering well, you might have skipped proper prep. Clean the surface again, sand it lightly, and apply a good primer before repainting.
MDF Issues
MDF can swell if it gets too wet. If this happens, let it dry completely, sand the swollen area smooth, and repaint. To prevent this, use oil-based primers and paints on MDF.
Uneven Finish
For an uneven finish, wait until the paint is fully dry, then sand the rough spots and apply another thin coat. Always use thin, even coats to avoid this problem.
Paint on the Mirror
If paint gets on the mirror, wait for it to dry, then scrape it off with a razor blade. Hold the blade at a 45-degree angle and work slowly to avoid scratching the mirror.
Tips for Great Results
- Take your time with preparation. Good prep work leads to better results.
- Use quality brushes and rollers. They help create a smoother finish.
- Paint in thin layers. It's better to apply several thin coats than one thick one.
- Let each coat dry completely before adding the next.
- Paint in a dust-free environment to avoid particles sticking to your wet paint.
- If using spray paint, practice your technique on cardboard first.
- Keep your workspace well-ventilated, and wear a mask when sanding or spraying.
- Be patient. Rushing can lead to mistakes and a less professional look.
Even experienced painters sometimes run into problems. Don't get discouraged if things aren't perfect on your first try.
Give Mirror Frame Painting a Go!
Now you know how to paint mirror frames. We've covered everything from getting ready to finishing up. The most important things are to be patient and careful. Take your time, especially when preparing and priming. If you run into problems, don't worry - it's normal when learning something new. With practice, you'll get better at making your mirrored furniture's frames look great. Why not start with an old frame and see what you can create?


Leave a comment
This site is protected by hCaptcha and the hCaptcha Privacy Policy and Terms of Service apply.