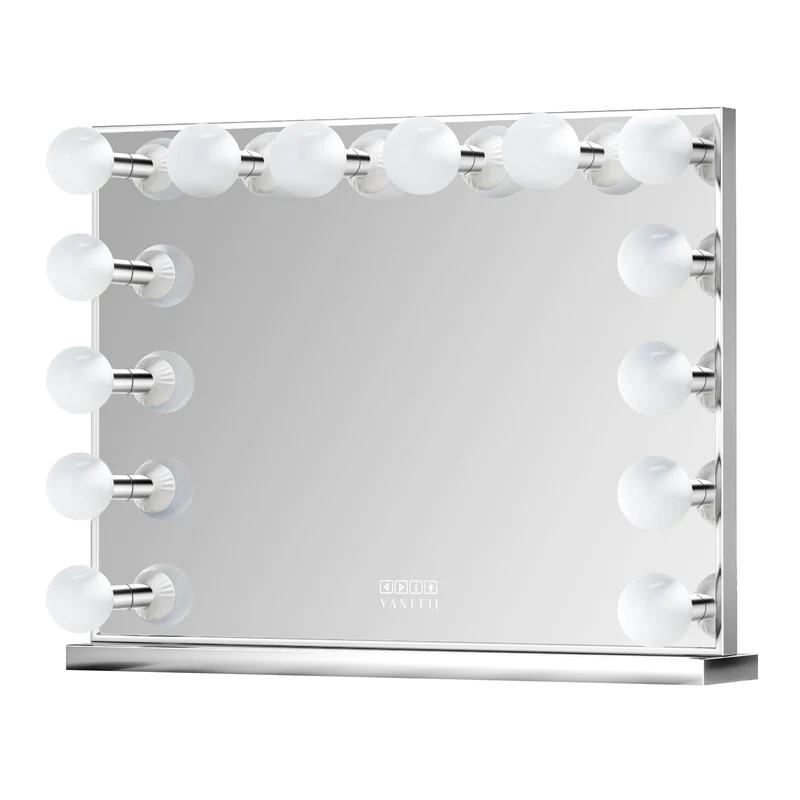
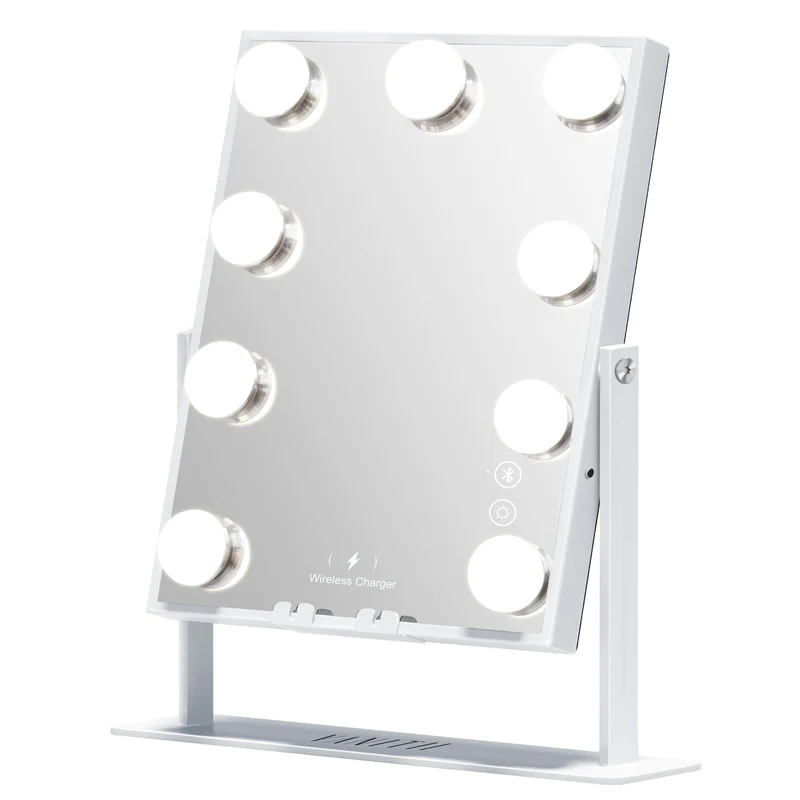
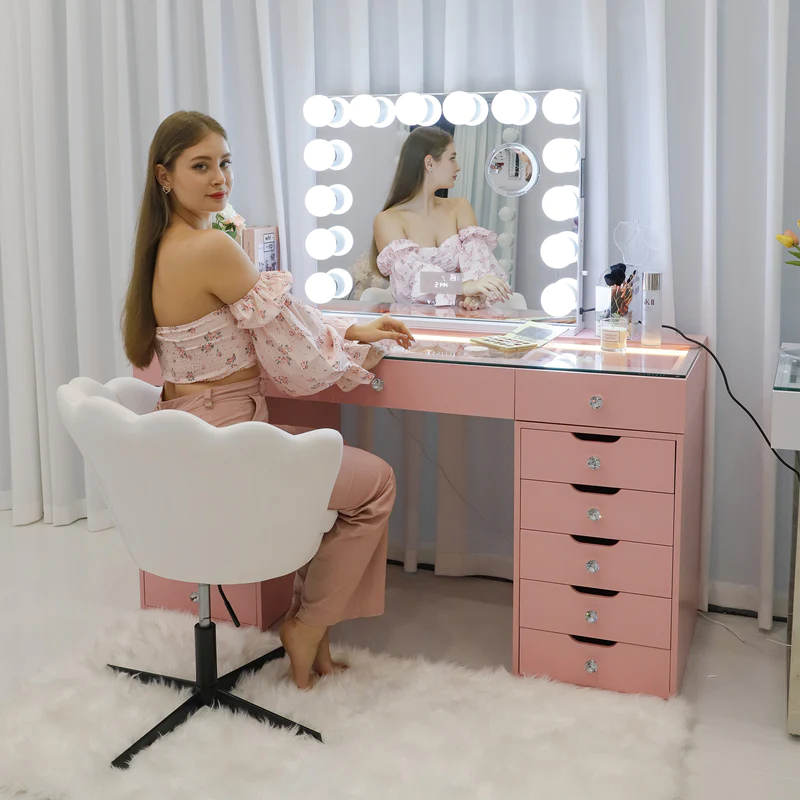
Having the perfect lighting is key for your makeup to look fabulous every time. If the lighting is too dim, too harsh, or casts odd shadows across your face, it becomes much harder to apply your foundation, eye shadow, lip color, and contours smoothly and evenly. That lovely makeup you worked so hard on can seem totally wrong once you walk outside. The two main types of lighting for makeup mirrors are overhead lights above and side lights around the mirror. This guide explains the differences, pros, and cons of overhead and side-mounted lights. That way you can pick which works best for your personal makeup style and space. Time for your lighting to help makeup magic happen!

Basics of Makeup Mirror Lighting
Having the right lighting takes your makeup application to the next level. Factors like the color tone, brightness, and direction angles of the lighting impact how well you can apply all types of cosmetics evenly.
Ideal lighting shows true, accurate colors in their real intensity. It should be bright enough to clearly see small facial details without any glaring or eye strain. The lighting angles should illuminate the contours of your whole face seamlessly without casting harsh shadows that hide flaws.
Overhead lighting refers to bulbs arranged above your head around the mirror frame pointing directly downward onto your face. This shines straight down onto you.
Meanwhile, side lighting comes from bulbs on vertical bars at the sides of the mirror angled horizontally toward your face, just like natural sunlight streaming through a window pane.
So, proper makeup lighting provides accurate color rendering, good visibility, and balanced illumination so you can perfectly blend products over your contours. Overhead and side lights give these effects differently, more details coming up!
What Exactly are Overhead Lights?
Overhead lighting comes from light bulbs arranged in a line right above your head pointed down at you. Picture a row of circle bulbs along the top or surrounding the outer frame of your mirror beaming directly onto your face.
1. Pros of Overhead Lighting:
Distributes light perfectly and evenly
Beaming straight at you from overhead, this lighting reaches all parts of your face equally without uneven bright or dark spots. Say goodbye to that glowing Rudolph nose situation!
Reduces ghoulish shadows
Overhead rays minimize ominous shadows lurking under your chin, eyes, and nose that can hide makeup flaws or skin issues. Brighter is better for noticing it all!
2. Cons of Overhead Lighting::
Harsh glare
Too much sunlight-esque direct illumination reflecting back in your eyes leads to squinting. Over time this causes eye strain and headaches for us makeup lovers.
Shows every pore
While great for perfect blending and catching makeup gaps, the unforgiving top-down angle can amplify face flaws that smart-angled glows can conceal with grace. Fine lines, circles, new pimples - no pore goes unseen!
What are Side Lights?
Side lighting comes from bulbs positioned horizontally at the sides of the mirror frame. Usually, short vertical bars hold a line of bulbs angled inward toward the face. This beams light from left and right rather than above.

1. Pros of Side Lighting:
Mimics natural light, ideal for makeup application.
Angled side rays mimic the direction of soft natural sunlight. This allows you to perfect makeup with lighting similar to how it will look outdoors. Side sources create a more natural glow than harsh overheads.
Highlights facial contours more effectively.
Light grazing the face from two sides casts some shadows that add definition and highlights to the cheeks, nose, brow bones, and other contours. This sculpts the face rather than flattening it out.
2. Cons of Side Lighting:
Can create uneven illumination if not positioned correctly.
The angles and number of side light bars must be placed carefully to evenly light the whole face, not just one half. Improper side lighting leaves part of the face dim.
May cast shadows if used alone without complementary lighting.
Though some shadowing can be flattering, too much darkness obscures visibility. Side lights alone often leave under-eye circles or jawlines too shaded. Combine with overhead or front lighting.
Potential Benefits of Using Both Lighting Methods Together
While overhead and side lighting individually have their pros and cons, combining both types together provides you the best of both worlds. The overhead lighting ensures completely even illumination and visibility across your entire face - no uneven dim spots or shadows. Meanwhile, the angled side lighting casts some natural-looking shadows and contours that sculpt and define facial dimensions in a flattering way.
Dual overhead and side lights eliminate any harsh or ghastly shadows and glare, while still using some subtle shadowing to add shape and highlights that enhance your facial features. The different angles balance out and complement each other beautifully. You can adjust the brightness levels of the overhead versus the side lights separately to find that perfect custom lighting balance that makes applying your makeup an artistic dream.
Tips on how to best combine overhead and side lighting for optimal makeup application results:
- Position the overhead and side bulbs equidistant from your face to harmonize brightness.
- Angle the side lighting to graze across facial planes at about 30 degrees inward.
- Use dimmable bulbs to adjust the intensity of overhead vs. side sources separately.
- Add small front-facing lights near the mirror to fill in shadows under the eyes or chin.
- Choose bulbs with similar or complementary color temperatures for a cohesive effect.
- Mount the overhead and side lights at the same height as your face when seated for ideal angles.
Blending overhead and side lighting combines their strengths for makeup application visibility and artistry. Experiment to discover your perfect brightness balance and bulb positioning. Then get ready for pro-level cosmetics work!
How to Choose the Right Vanity Lighting: Overhead vs. Side
Finding the perfect lighting for your makeup vanity is key to flawless application. The lighting needs to provide clear visibility, eliminate shadows, and render true color.
1. Makeup Routine and Needs
- Detail-oriented makeup (eyes, microblading)- overhead for maximum visibility
- Sculpting and contouring- side lighting for shadows and dimension
- Frequency of use- extensive vs quick touch-ups
- Day vs night - assess brightness needs
2. Your Vanity Space
- Size of space- overhead for small areas, sides for large
- Existing light in the room- supplement accordingly
- Mirror size and shape- rectangular delivers both overhead and side lighting for framed mirrors
3. Addressing Lighting Issues
- Glare, color inaccuracies- diffusing overhead
- Uneven lighting, shadows- adding supplemental side lights
- Lack of brightness, and visibility- increasing wattage
4. Combining Lighting Types
- Overheads provide complete brightness
- Sides create natural contours and effects
- Together maximize visibility and enhance application
Consider all these factors above to select the optimal vanity lighting setup for your unique space and makeup needs. The right lighting elevates your beauty routine.

Makeup Mirror Lighting - Illuminate Your Beauty
Choosing the optimal lighting is crucial for makeup mirror mastery. Overheads evenly illuminate without shadows while sides sculpt natural dimension. Combining both maximizes visibility and enhances your artistry. Carefully weigh your space, routine, and problem areas, then select tailored fittings at face height for flawless makeup application. When the lighting is just right, your skills shine in full radiant beauty. Find your perfect glow with strategic vanity illumination to lift your look.
Read More
- Hollywood Mirror With Lights: The Ultimate Guide to Choose the Perfect
- Top Vanity Table Distributors: Quality Vanity Mirrors & Desks
- Tips for Selecting a Modern Vanity Table
- Hollywood Mirror With Lights: The Ultimate Guide to Choose the Perfect
- Practicality of Automatic Sensor Lights for Vanity Desk Drawers


Leave a comment
This site is protected by hCaptcha and the hCaptcha Privacy Policy and Terms of Service apply.